Hollywood Theater
Posted: February 16, 2012 Filed under: Kodak Retina IIIc, Super Ricohflex | Tags: 120 film, 35mm film, cameras, classic cameras, film photography, hollywood theater, Kodak, Kodak Retina IIIc, photography, Portra, Portra 400, Super Ricohflex 2 CommentsThe Hollywood Theater opened it’s doors on Johnson Street in NE Minneapolis in 1935, and has been closed since 1987. It’s in rough shape, but has recently been re-opened on a limited basis for some theatrical performances. And the local arts television show MN Original recently filmed a nice performance by local musician Mason Jennings in the theater, in which the theater’s beautifully decrepit interior plays a starring role.
It was designated a local historic landmark in 1990 and the city of Minneapolis has owned it since 1993. There have been many redevelopment plans discussed over the years, but nothing has happened so far. It would be an amazing space if it were renovated and re-opened as a live-performance theater.
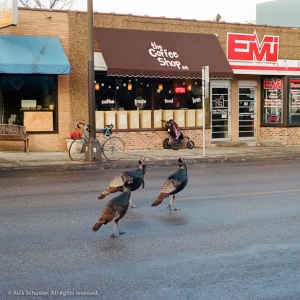 Another feature of the part of NE Minneapolis I call home is the resident flock of wild turkeys that roam the streets, sidewalks and yards. They’re frequently seen outside the local coffee shop and corner restaurant, or sitting on the small strip of grass next to the craft store, in front of the funeral home, or even sitting on the park benches lining the sidewalk. They’re quite used to the people and cars around, and take their sweet time crossing the street. They’ve become symbols of our little corner of NE Minneapolis. As I was taking the Hollywood Theater photos above, they wandered by, so I had to snap a shot of them in the street.
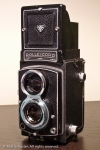
The second photo of the theater was taken with my Super Ricohflex on Portra 400 film, and the rest were shot on my Retina IIIc, also on Portra 400. The third photo — the straight-on shot — was cropped square from the 35mm frame because I liked the composition better, and straightened a bit in Lightroom. The first image, taken with the Retina, was adjusted in Lightroom — I added some Recovery to darken the sky that was a bit washed out, and a little fill light to brighten up the darker areas under the overhang. It gives it a little bit of an HDR look, I think, but hopefully not too much — I tried not to over-do it. I’m always amazed at how much detail can be pulled out of the highlights and shadows on a good scan of a negative.
Fall on Lake Superior – Retina IIIc
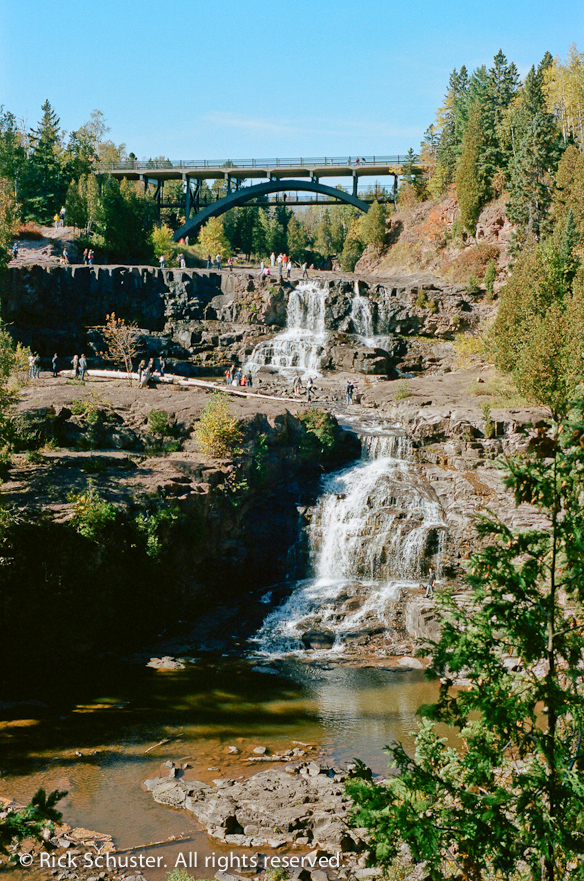
Posted: February 2, 2012 Filed under: Kodak Retina IIIc | Tags: cameras, classic cameras, film photography, gooseberry falls state park, Kodak Retina, Kodak Retina IIIc, photography, Portra Leave a commentA kind of funny thing happened when I shot that last photo. There was a small clearing in some trees where you could get a good view of the falls from a hiking trail. A guy stepped out of my way so I could take a photo, and after I snapped my one shot, he asked “did it turn out?” I glanced at my 1956 Kodak Retina IIIc and said “yep, looks good” before continuing along the trail.
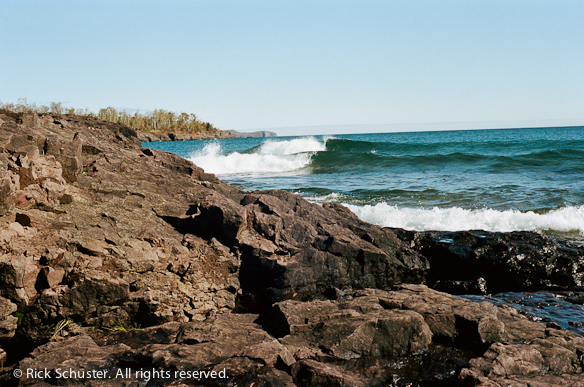
These photos were made at Gooseberry Falls State Park on Lake Superior in northeastern Minnesota. The extremely dry fall slowed the normally-spectacular falls to a mere trickle. Those people in the photo above are standing where a lot of water is typically flowing.
I’ll have some newer photos to post soon, as I just sent several rolls of 35mm and 120 in for processing and scanning. In the meantime, I thought I’d dig back through some older shots. These were shot with the Retina IIIc on Portra 400. The bright sunlight was a bit harsh that day, especially at mid-day when these were shot, but the Retina and Portra handled it pretty well.
Northeast Minneapolis – Retina IIIc
Posted: December 2, 2011 Filed under: Kodak Retina IIIc | Tags: classic cameras, film photography, Kodak Retina, Kodak Retina IIIc, photography 3 Comments Looking back through my last batch of negs developed, and longing for these green leaves and warm weather. Not so green or warm right now.
These shots also remind me what a great place NE Mpls is to walk around and shoot photos — and how walking with a camera hanging around your neck makes you look at things and see things in a completely different way. I’ll walk in places I might never bother walking without a camera, and slow down and really look at things trying to find beauty or a great composition in places most people simply hurry past.
Shot on Kodak Portra 400, with my 1956 Kodak Retina IIIc rangefinder camera.
Fifth Falls, Gooseberry River – Retina IIIc
Posted: November 28, 2011 Filed under: Kodak Retina IIIc | Tags: cameras, classic cameras, film photography, Kodak Retina, Kodak Retina IIIc, photography Leave a commentAluminum Bronze Brass
Posted: November 5, 2011 Filed under: Kodak Retina IIIc | Tags: cameras, classic cameras, film photography, Kodak Retina IIIc, photography, Portra Leave a commentI just got some film and scans back today from Dwayne’s – seven rolls from seven different cameras. I just love pulling the negs out of the envelope to see if they turned out (especially when it’s from a camera I’ve never shot before) then popping the CD in the computer and taking a look at the scans. As I’ve said before, it’s a feeling that I just don’t get when I shoot digitally. The anticipation and excitement is completely different.
I’ve got some sorting, selecting and adjusting work to do, but the photo above jumped out at me so I decided to post it right away. It was taken with my trusty Retina IIIc, and it is shown here as the straight scan, simply resized and watermarked, but with no Lightroom adjustments. I’m always amazed by the images from this camera. Some of my other old cameras produce images that are a little low in contrast for my taste, so I end up making adjustments in Lightroom, but the Retina IIIc images are almost always nicely contrasty, with great colors and amazing detail. This was shot on Kodak Portra 400 film.
The other rolls of film that I got back were shot with some cameras I’ve not posted about yet, so I also have some work to do in setting up information pages for these cameras. They are an Olympus Trip 35, Kodak Retina Automatic III, Kodak Duo Six-20, Seagull TLR, Zeiss Ikon Tenax, and my old Pentax K1000. I should have lots of posts coming up.
Winter on film – Retina IIIc
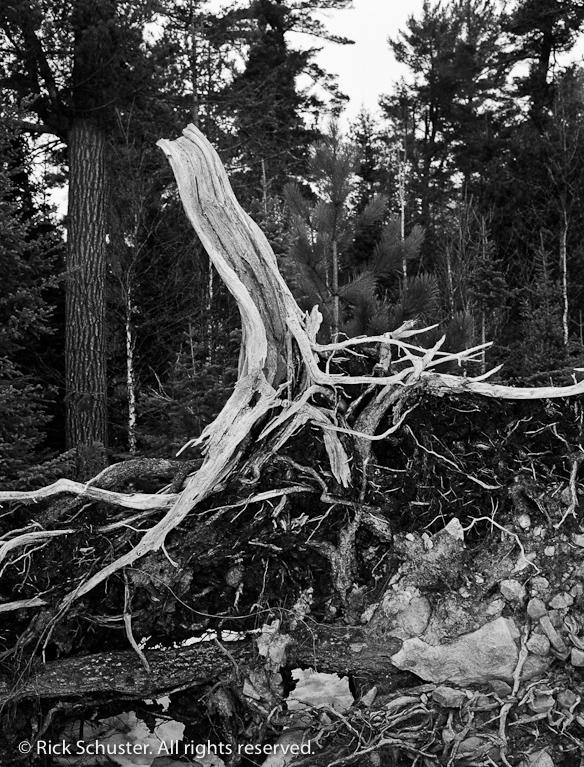
Posted: June 1, 2011 Filed under: Kodak Retina IIIc | Tags: cameras, classic cameras, film photography, Kodak Retina IIIc, photography 1 CommentSome shots from a ski trip up north near the Gunflint Trail in northern Minnesota earlier this spring. These were all shot on Kodak Gold Max 400 color print film with my Kodak Retina IIIc. Black and white conversions done in Lightroom.
Not sure 35mm film will give you enough resolution?
Below is a crop of part of the image above. This is from 400 speed Kodak Gold Max color print film, not known for fine grain as far as I know. With a fine-grained film like Ektar 100, I imagine the results would be even more impressive. This was an Enhanced Scan by North Coast Photo, resulting in a 3339 x 5035 pixel image, or equal to greater than a 16 megapixel image. From 35mm film! In a 55-year-old camera!! Gotta love the Retina IIIc. This old technology called film isn’t so bad after all.
HDR from film?
Posted: May 26, 2011 Filed under: Kodak Retina IIIc Leave a commentI wondered what would happen if I tried to create an HDR (High Dynamic Range) image – or at least an image that looked like HDR – from a film scan. So I did a quick experiment. The good thing is that film naturally has a pretty high dynamic range, likely higher than that of most digital camera sensors. With a good quality scan, there’s a lot of range to work with. If you were really going to go all the way with this, you could probably make three scans of the same neg, overexposing and underexposing two of them to get the most shadow and highlight detail possible. I just had one scan of this image, so I exported three TIF files from Lightroom, one with normal exposure, and one each with exposure increased and decreased. Then I ran those through Photomatix Pro to create the HDR image and tonemap it, then added some editing in Photoshop using OnOne Software’s Phototools plugin.
A lot of steps involved there, but I was able to create something a bit more interesting than the original. I was trying to create a little bit of that ‘grungy’ HDR look without overdoing it, as I’m getting really tired of the way overdone HDR look that’s become so common. Was it worth it? I don’t know. I probably could have created something similar with just some Photoshop work, but it was an interesting experiment. This wasn’t a terribly high dynamic range scene, since it was an overcast day, but the sky was still quite overexposed. It would have been difficult to bring that cloud detail back into the sky without using an HDR approach. I was surprised when I saw the detail in the sky because I didn’t even think there was any cloud detail there.
I did notice some extreme graininess that appears after running it through Photomatix Pro. I think by boosting the microcontrast, the film grain in the scan acts a lot differently than a typical digital photo. It resulted in black spots of grain visible when zoomed all the way in.
Love it or hate it, the ‘HDR look’ is very popular, and when done with restraint it can be a great tool. Maybe there’s a place for it even in a film-based workflow. It’s definitely something I’ll experiment with some more. It was fun to mess around with.
This photo was shot with the Kodak Retina IIIc on Kodak GoldMax 400 film, scanned by North Coast Photo.
Follow-up note: I got a couple of surprising responses from people who like the original photo better than the pseudo-HDR. I’d probably prefer something that falls somewhere between the original scan and the HDR. The original needs more saturation and other adjustments in my opinion, and I like the detail in the sky and the slightly exaggerated texture under the building overhang in the HDR version. The beauty of it is that just by doing some simple adjustments in Lightroom to the original scan, I could easily recover a bit more shadow and highlight detail, adjust color balance, maybe saturate certain color ranges a tiny bit, etc. – stuff you could do with hours of work in the darkroom in the old days, but in minutes digitally. That’s why I love the hybrid analog/digital workflow. As far as HDR goes, there are times when I love the illustrative look of some HDR images – they sometimes look more like paintings than photographs – but like I said before, I am getting a little tired of it.
Kodak Retina IIIc
Posted: May 5, 2011 Filed under: Kodak Retina IIIc 5 CommentsUrban landscapes
I have a new favorite camera. It’s a German-made Kodak Retina IIIc (see my detailed review here). This 35mm folding rangefinder from the 1950’s is fun and easy to use, and the image quality is excellent. I try to avoid being a ‘pixel-peeper’ – someone who zooms in and analyzes every part of an image for sharpness – but I can’t help it with the images from this camera. The first photo above is a classic lens-testing image – straight-on at a brick wall. I wasn’t thinking of that when I took this photo, I just really liked the image. But looking at the high-res scan on my computer makes me realize how remarkable this camera and lens are. There’s no curvature of the lines, and every brick from corner-to-corner is as sharp as the ones in the center. I don’t think my high-end Canon DSLR would produce as sharp of images with as little distortion as this 55-year-old camera that I bought on ebay for $66. I’m tempted to show a bunch of close-up crops to demonstrate the sharpness, but I want to avoid making this post too much about the technical details. Maybe I’ll do that later on the camera page.
These images are from a walk through an old industrial area in Northeast Minneapolis, where many of the old warehouses have been converted to art studios, but many are still used industrially. All of these were shot on Kodak Gold Max 400 film, and the ones shown in black and white were converted in Adobe Photoshop Lightroom.
The camera
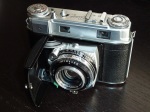
 This is my 1956 Kodak Retina IIIc that these images were shot on. I really like using this camera and I think I’ll be getting a lot of use out of it. More about the Retina IIIc.
The scans above are the Enhanced Scans from North Coast Photographic Services, and I’m really pleased with the scans from color negative film. They are extremely crisp, high-resolution images (from 35mm film they’re nearly 17 megapixel images). I had the same problem as last time with some black and white film that I sent them (way high contrast with lost detail in the shadow and highlights), but I’ve been in contact with them and they’re going to rescan the black and whites for me.
The images above are all from color film, and some of them were converted to black and white in Lightroom. I like the control that I have in Lightroom when creating a black and white image from a color image, so I think I’m going to shoot more color film in the future. With Lightroom’s controls you can lighten and darken color ranges from the original color image after it’s converted to black and white, since Lightroom always saves and works from the original source file. So for instance, if you want the sky to be darker, you can simply darken the blues and it’s as if you had shot the photo on black and white film using a red filter or a polarizer. But the beauty of it is that you have endless possibilities for adjusting certain colors, not just adjusting the tonal ranges as you can with an image shot on black and white film.


